Garage Floor Crack Repair: Diagnose First, Then Fix
Most garage floor cracks are shrinkage cracks you can seal yourself in an afternoon. Check whether the slab has sunk or lifted first, because that changes the fix.
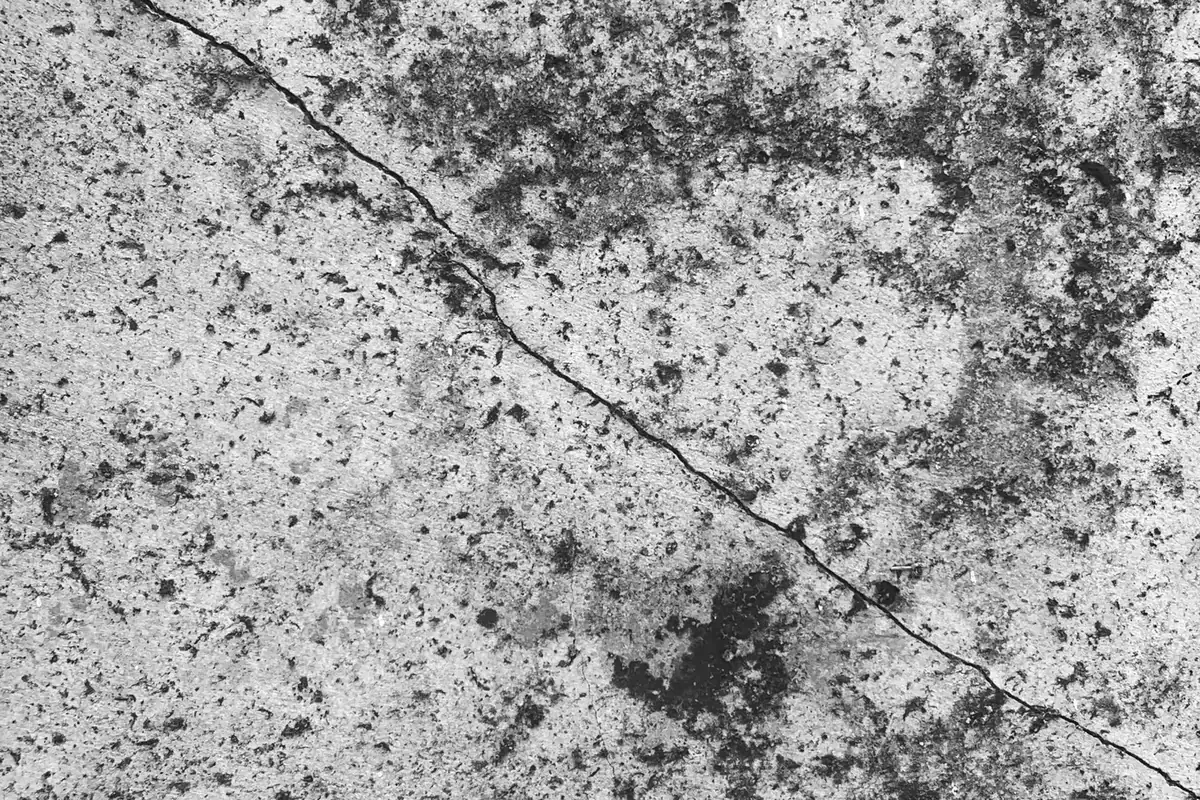

Short answer: Clean the crack, then fill hairline cracks with a low-viscosity epoxy or polyurethane crack filler and wider cracks with backer rod plus a flexible sealant or a rigid patch. Don't fill control joints with rigid material. If one side of the crack is higher than the other, or the slab is sinking or lifting, fix that first, often with slab lifting or professional help.
Garage floors take more abuse than almost any other slab in a house: car weight, road salt, meltwater, oil and big temperature swings. Cracks are common. Before you reach for a tube of filler, spend five minutes working out what kind of crack you have. It decides whether a DIY repair will last. The same steps work for most interior concrete floor crack repair, including basement and workshop slabs.
Diagnose the crack first
Garage slab cracks usually come from one of three causes. Each looks a little different.
| Cause | What it looks like | Typical fix |
|---|---|---|
| Shrinkage | Thin cracks, both sides level, often near control joints or running from corners, stable over time | Seal or fill (DIY) |
| Settlement | One side lower than the other, often near the garage door or along an edge, may widen over time | Lift or support the slab, then seal |
| Heave | One side pushed up, a hump or tented crack, may change with the seasons | Find the cause (frost, water, expansive soil) before repairing |
To check, run a straightedge or level across the crack. Measure the width with a ruler or feeler gauge. Then mark the ends with a pencil, write the date, and check again in a month or two. A crack that stays the same width and stays level is almost always shrinkage.
Use the site's usual width guide: under 1/16" is usually cosmetic; 1/16" to 1/8" is common and worth sealing if water or salt gets in; 1/8" to 1/4" or growing deserves a closer look; wider than 1/4" or displaced needs a professional opinion.
How to fix hairline cracks in a garage floor
For cracks up to about 1/8" with both sides level:
- Clean it out. Scrape out dirt with a screwdriver or wire brush, then vacuum. Degrease oil stains along the crack, because fillers won't bond to oily concrete.
- Let it dry. Most fillers need a dry crack. Give it a dry day or two after cleaning with water.
- Fill. Use a low-viscosity epoxy crack filler if you plan to coat the floor, or a self-leveling polyurethane sealant if the floor will stay bare and the crack might move. Slightly overfill.
- Level off. Scrape or sand the cured filler flush with the floor.
- Cure. Keep cars off for the time on the label.
How to fix wider cracks
For cracks from about 1/8" up to 1/2" that are level on both sides:
- Open and clean. Chisel or grind the crack into a clean edge, removing crumbly concrete. Vacuum thoroughly.
- Add backer rod. For deep cracks, push foam backer rod in so the filler sits no deeper than about 1/2". This saves material and helps flexible sealant work properly.
- Choose rigid or flexible. If the crack is stable and you're coating the floor, use an epoxy patch or repair mortar. If it opens and closes with the seasons, use a flexible polyurethane sealant.
- Finish flush and cure as the label directs.
For more detail on product types, see our concrete crack filler guide. The general method for slabs, patios and walks is in the concrete crack repair guide.
Filling cracks before an epoxy floor coating
An epoxy or polyaspartic coating will not hide cracks. A crack in the slab usually shows through, or reappears as a line in the coating later. Prep matters more than the coating itself:
- Fill cracks with a filler the coating maker says is compatible, usually an epoxy crack filler or patch.
- Grind or sand the filled cracks flush, then prep the whole floor (grinding or etching) as the coating instructions say.
- Test for moisture. A slab that pushes up moisture can make coatings peel. Taping a square of plastic sheet to the floor overnight and checking for condensation underneath is a simple first test.
- Accept that a crack that moves will likely show through any rigid coating. For moving cracks, some installers leave a flexible joint and coat around it.
Don't fill control joints with rigid material
Control joints are the straight grooves cut or tooled into the slab. They're there so the concrete cracks inside them, out of sight. They open and close slightly with temperature.
If you pack a control joint with epoxy or mortar, the slab loses its planned weak line and will often crack somewhere else nearby. If you want to keep water, salt and dirt out of the joints, use a flexible joint sealant (polyurethane or polyurea joint filler) with backer rod if needed. Before an epoxy coating, coating installers often fill joints with a semi-rigid or flexible joint filler for the same reason.
When the slab is sinking or lifting
If one side of a crack is higher than the other, filling it alone won't solve anything. It can also be a trip hazard. A few common situations:
- Front edge sinking near the door: often from water washing out the fill under the slab. Fix gutters and drainage, then consider slab lifting (foam or slurry injection), which raises the slab back toward level.
- Slab heaving in winter: often frost or wet soil under the slab. Improving drainage may help; lifting won't fix heave.
- Cracks continuing up the garage walls or into the house foundation: the problem may be bigger than the floor. See our foundation cracks guide.
Slab lifting costs vary widely depending on the area and how far the slab has dropped, so get a couple of written quotes.
Call a professional if the crack is wider than 1/4", one side is clearly displaced, the floor is still moving, or cracks also appear in the garage walls or the house foundation. For anything that may be structural, a licensed structural engineer is the right first call. Independent engineers don't sell repairs, so they can tell you whether you need lifting, repair or nothing at all. Not sure? Try the Crack Checker.
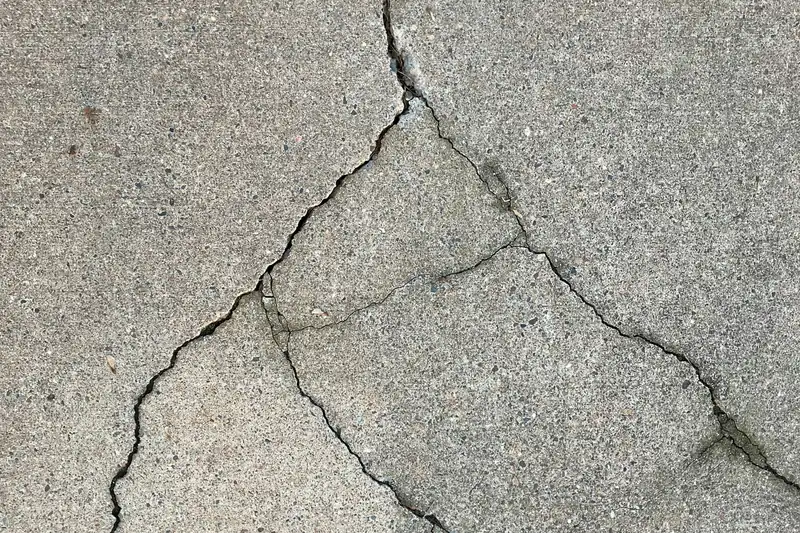 Concrete crack repairHow to repair cracks in concrete slabs, garage floors and patios: picking the right filler, steps for small…
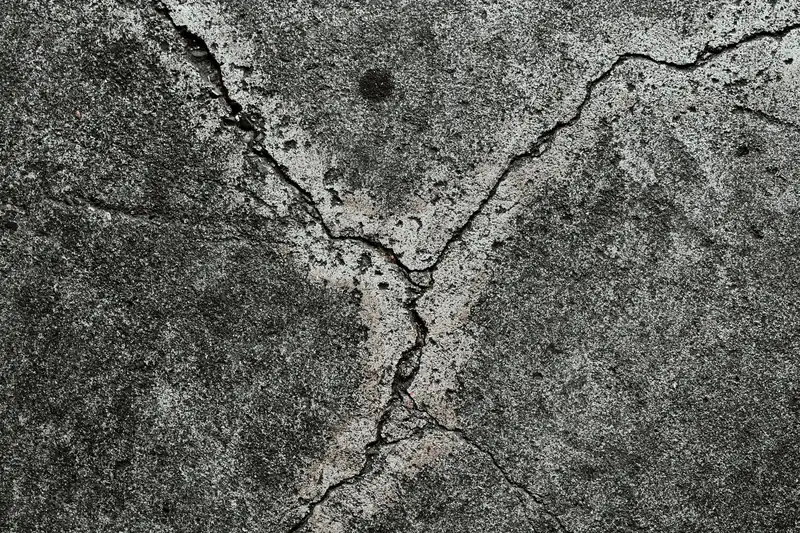 Concrete crack fillerHow to choose a concrete crack filler: polyurethane, epoxy, latex patch, self-leveling sealant and repair…
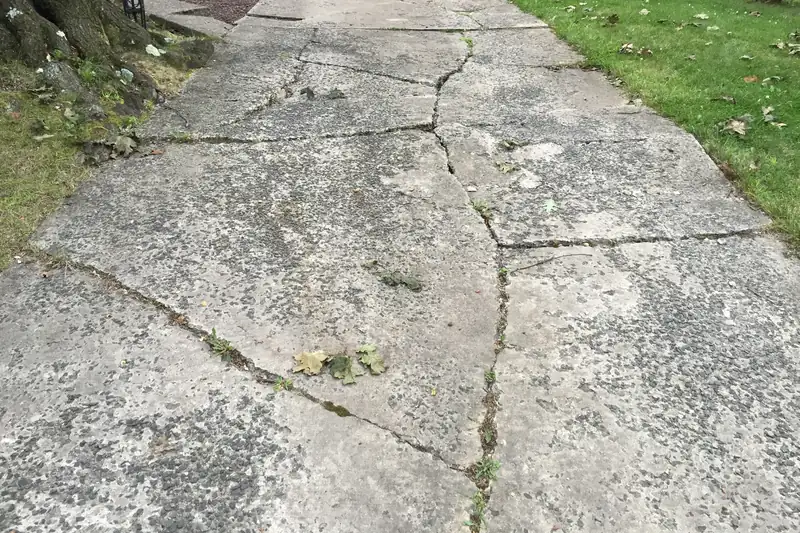 Driveway crack repairHow to repair concrete and asphalt driveway cracks: fillers vs. sealers, step-by-step DIY repair, the best…
More from the blog
 Why Does New Concrete Crack? What's Normal and What Isn'tWhy new driveways, patios and slabs crack, and which cracks are normal versus worth a call.
 Drywall Cracks That Keep Coming Back: Why, and How to Fix Them for GoodWhy patched drywall cracks reappear, and how to repair them so they stay gone.
 Stair-Step Cracks in Brick and Block Walls: When to WorryWhat stair-step cracks in brick and block walls mean, how to judge them, and when it's time for an engineer.
Not sure about your crack? The Crack Checker asks four questions and tells you whether to monitor it, fix it or call an engineer.